The manufacturer Manker is on the market from not so long ago,but it adds new breath to this market releasing products with distinctive design and user interface.
The U11 flashlight can be powered by single 18650 battery or two CR123A batteries.
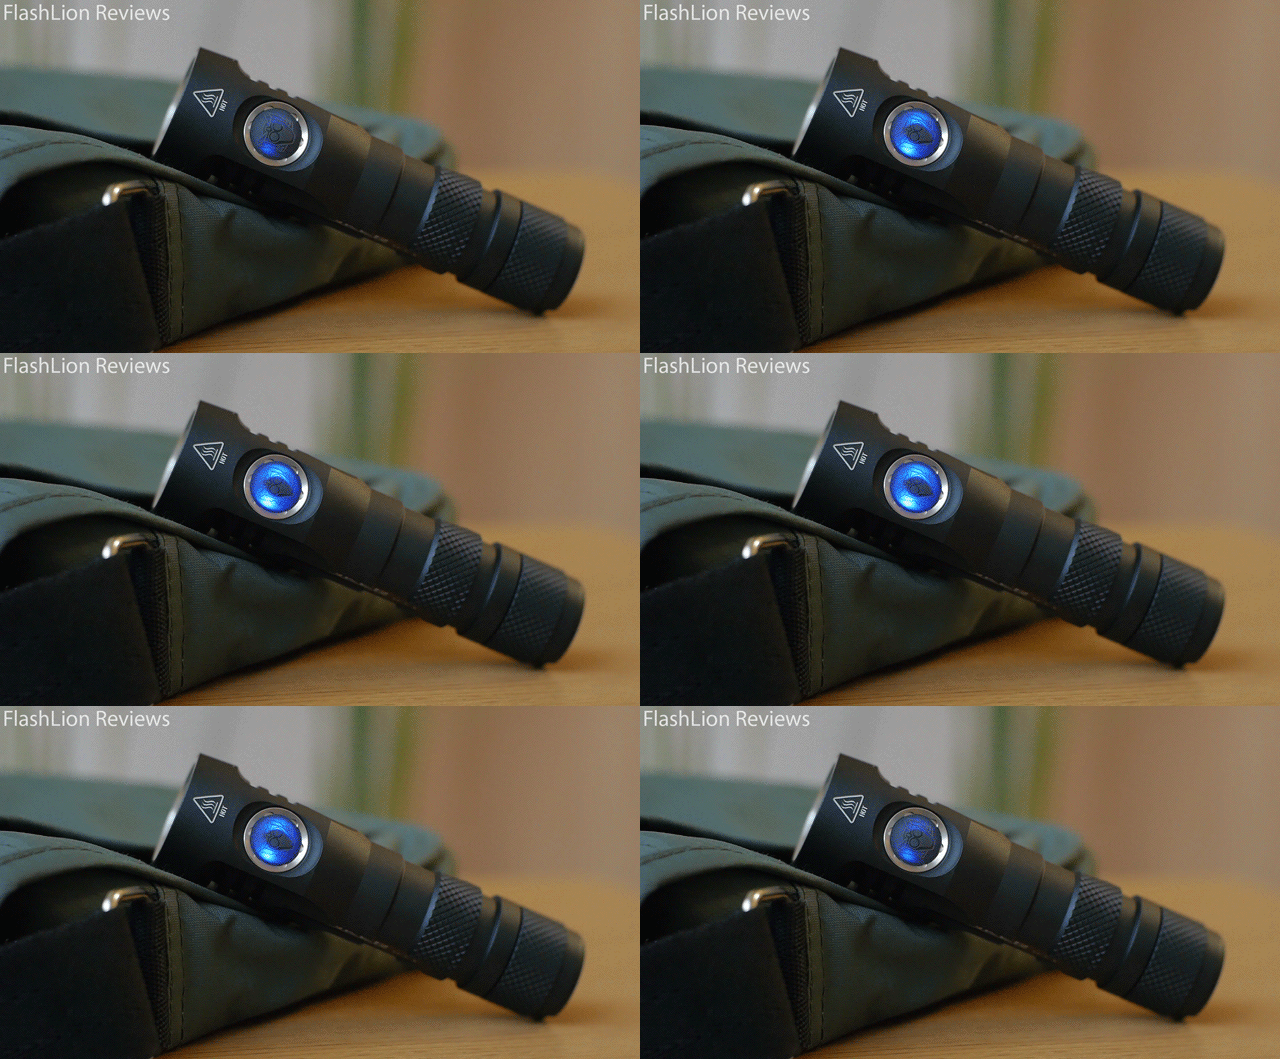
The status indicating blue light under the switch not by accident called by Manker-Breathing.
This is how it looks in the normal charged status.When the battery is empty the U11's indicator breaths with a different frequency,also different while it is connected for charging.


Check out the TMART's website for actual price and availability-
http://www.tmart.com/
http://www.tmart.com/
You can use the Coupon code U11
Price with the code: $33.99

Looking at the comparison pictures,the U11 is compact for a 18650 flashlight.
Anodizing and machining are done on very high level with just one or two imperfections.
The overall design is very smooth with round edges,making the flashlight very comfortable in the hand.
Beautiful black matte finish.No glossy finish here. The designers and engineers working on the Manker line flashlights definitely have a talent and know how to implement their ideas.
Size comparison :
18650 battery, Manker U11, Olight S30, Fenix RC11, Nitecore HC30, Thorfire VG15

The knurling is done just on the zones where it is needed.No extra knurling for appearance.
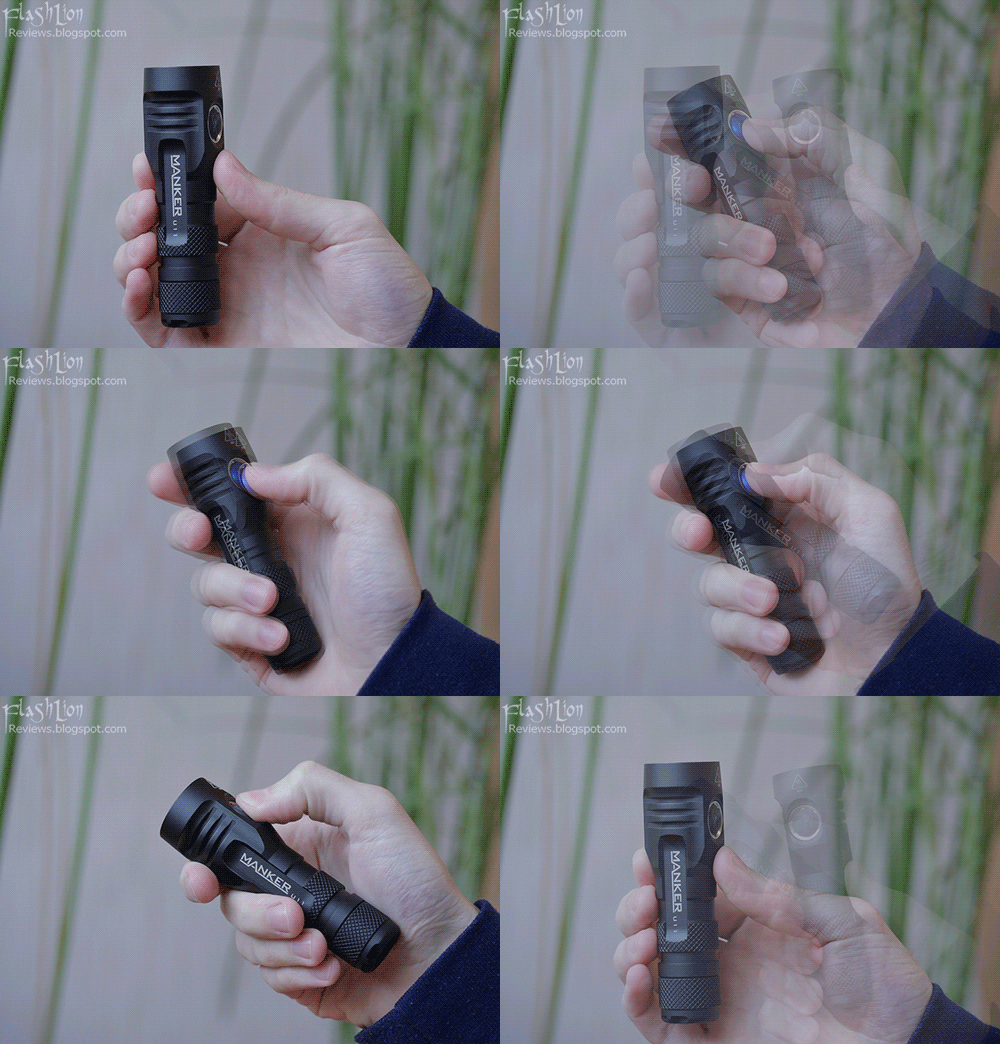
After holding the U11 in my hand,I can confirm that the grip is comfortable and stable in the same time.
The design allows stable tail-standing and good anti-roll options,as well.


The U11 fits perfectly in the hand as the side switch is easy to find in the dark by touch.The switch is positioned just on the right place for the thumb,allowing comfortable operation.
In my medium size slim hand.
The package-very sturdy cardboard box.


Sturdy carton box with a thick white plastic foam for great shock protection while transporting the package.


Cree XP-L LED. Very clear glass lens with great anti-reflective coating.
Deep aluminum reflector with textured reflective finish.

Stainless steel bezel which does not seem to have the purpose to protect the front of the flashlight.It is almost on the same level with the aluminum body.

Great square-cut threads,anodized-without any reason for critique on my sample.
Dual spring at the tail cap-ensures optimal current flow,better contact with the battery.
Thanks to the anodizing of the tail threads,unscrewing the tail cap a little allows to disconnect the battery from the driver and prevent any accidental activation.

Inside the battery tube-a spring on the positive contact point too.
The tube is well sized and takes long protected batteries without problems with tightening the tail cap.

Because of the electronic way of activating the light,the U11's driver electronics take some current in the Off/Standby state.
I am pleased to report that it is just 0.15microAmps. However if you leave the blue location indicator under the switch On,this will draw 3.5mA from the battery,which is even higher than Moonlight mode consumption.

Switch illumination can be activated only when the light is turned Off.
To turn it on you have to activate Strobe first with following turn off.
To be able to activate the switch indicator,you have o activate Strobe first which may be quite inconvenient.

The cover itself is well made-reasonably well sealing the charging port.
Though,I can not test it for waterproofing level and can't share opinion after long period of use,for now.
620mA charging current.


User Interface
Manker is offering impressive amount of modes for a low priced flashlight and even compared to most of the produced flashlights,at all.
Manker gives you the choice to select preferable brightness for Low,Mid,High and Turbo mode,as the choice is between three different levels for each mode. The UI ideas are well implemented,allowing quick and easy basic operation with advanced features for people interested to play a little more with their flashlight options and to reach better customization
I am glad to report that the UI works as specified.Great response from the driver and the switch.
This is one of the most refined interfaces I have tested and find it easy and quick to operate.
I love the option for quick access to the lowest mode. It is great to found it available in the Manker U11 too.
I have only one reserve of the UI and more specifically the mode spacing. The lowest Moonlight mode is extremely low,without doubt. The Mid,High and Turbo modes are well selected too. As mentioned earlier,we can choose one of three brightness levels for each mode,except Moonlight mode. This definitely leaves gap between Moonlight and Low mode as I found the Low mode quite bright after using the extremely low Moonlight mode. A 1 lumen or even 3 lumen option could make the spacing a little better for Low brightness preferring users.
Here is how to operate the modes.
Briefly press the switch-this will activate Moonlight mode.
To change the mode-click the switch again briefly.Every click will switch to the next mode.
Mode sequence Moonlight-Low-Mid-High-Turbo
If you prefer to activate directly the last used mode-press and hold the switch for a second from Off state.
To turn the light Off-press and hold the switch for a second.
To save you some reading here is a photo of the instruction sheet illustrating the mode selecting chain.

Manker U11 gives you the option to use two menus-General mode and Pro mode.
The first is the base mode sequence.The second adds additional features like battery voltage indication and the already mentioned option to select preferable brightness for Low,Mid,High,Turbo modes from three possible variants,for each mode. The three brightness variants are also defined and can't be freely adjusted.Yet they give us a chance for a little better customization of the mode spacing.
After setting the preferable brightness for each mode,while in Pro mode we use these outputs instead of the General mode ones.
Lumen measurements taken by me with not professionally calibrated integrating sphere:
(General mode outputs)
Turbo mode 1150Lm initial / 990Lm after 30sec
High mode 640Lm
Mid mode 290Lm
Low mode 143Lm
Moonlight mode is very hard to measure accurately.
Interesting to note is that my measurements confirm the described output values for all modes except Low mode which is two times brighter.
Below you can see RunTime graphs revealing the U11's performance on Turbo and High mode.
High mode maintains constant brightness of 530Lm(the UI was set to Pro mode with High mode set to the lowest brightness for this mode) for about 2h 35min.
Turbo mode has impressive initial brightness,though it does decrease quickly.
After small stepdown from 950Lm to 900Lm the output is constant(890Lm) for about 20 minutes. After that the discharge curve depends on the voltage supplied by the battery.
Manker U11 has Low Voltage protection which turns the light off when the battery is nearly empty.
You can still activate the light for short periods after that,but is recommended to replace the battery or to charge it.
Battery voltage after discharge test was 3.2V. Charging a 3400mAh battery directly in the flashlight takes about 8 hours.

Below is a comparison with other flashlights which do not feature programmed step down-ThruNite TC12 and Nitecore HC30.
(Note that according to the instruction sheet the U11 features additional hidden Turbo mode with constant current supply,which may keep a little higher output,but I did not test it yet.)


Beam profile
According to the provided specifications the light from the LED installed in my U11 sample is neutral white.
In my opinion,even without comparing it to other flashlights with different color temperature,the light is actually warm white or at least on the NW/WW border. I see a lot of yellowish and orange light in the beam and depending of the way of use and the personal preferences,the warmer light could be an advantage or exactly the opposite.
It is hard to test for color rendition-in my eyes it is not quite good,especially for white objects.Outdoors the warm white light could be more suitable than cool white light,which usually make the objects less colorful and realistic.Yet,I have tested flashlights with much better NW light. This is my opinion,a result of my experience.


The beam has quite smooth profile with comfortable transition between hotspot-corona-spill.
Due to the textured reflector,the beam is more a flood light than thrower.Suitable for every day use occasional outdoor medium distance use.
1 meter distance, White wall
1/20sec


1 meter distance
1/250sec

3 meters distance
1/6sec


3 meters distance
1/50sec

Strong points:
Great build quality,design and anodized finish,especially for this price range;
Built-in charging circuit with safe termination voltage; Well sealed microUSB charging port;
Most common charging port-phone charger and cable can be used;
Very good beam profile; Extended UI with wide selection of modes; Convenient way to operate the UI with a single switch; Very compact for 18650 size flashlight. Comfortable switch/back illuminated;
Good performance of the electronics; Not just an average flashlight;
What could be weak points,according to preferences and way of use:
Moonlight mode is extremely low brightness and while many may prefer it for first in the mode sequence,sometimes it is not clear if the flashlight is already turned On or not.
I would prefer a hidden Moonlight mode or additional choice of brighter level for this mode.
The step from Moonlight mode to Low mode is huge-hard to the eyes.
Leaves desire for another mode in between;
The brightness of all modes but the Moonlight can be selected from three values;
Neutral white LED much warmer white than expected/needed; No direct access to Turbo mode;
Slow charging;
Thanks for reading!
Big thanks to TMART.com for providing the review sample and giving me the chance to test a flashlight from a new to me brand and share my results with you.
Check out the TMART's website for actual price and availability-
http://www.tmart.com/
http://www.tmart.com/
You can use the Coupon code U11
Price with the code: $33.99


